Stable Diffusion
29 Jan 2024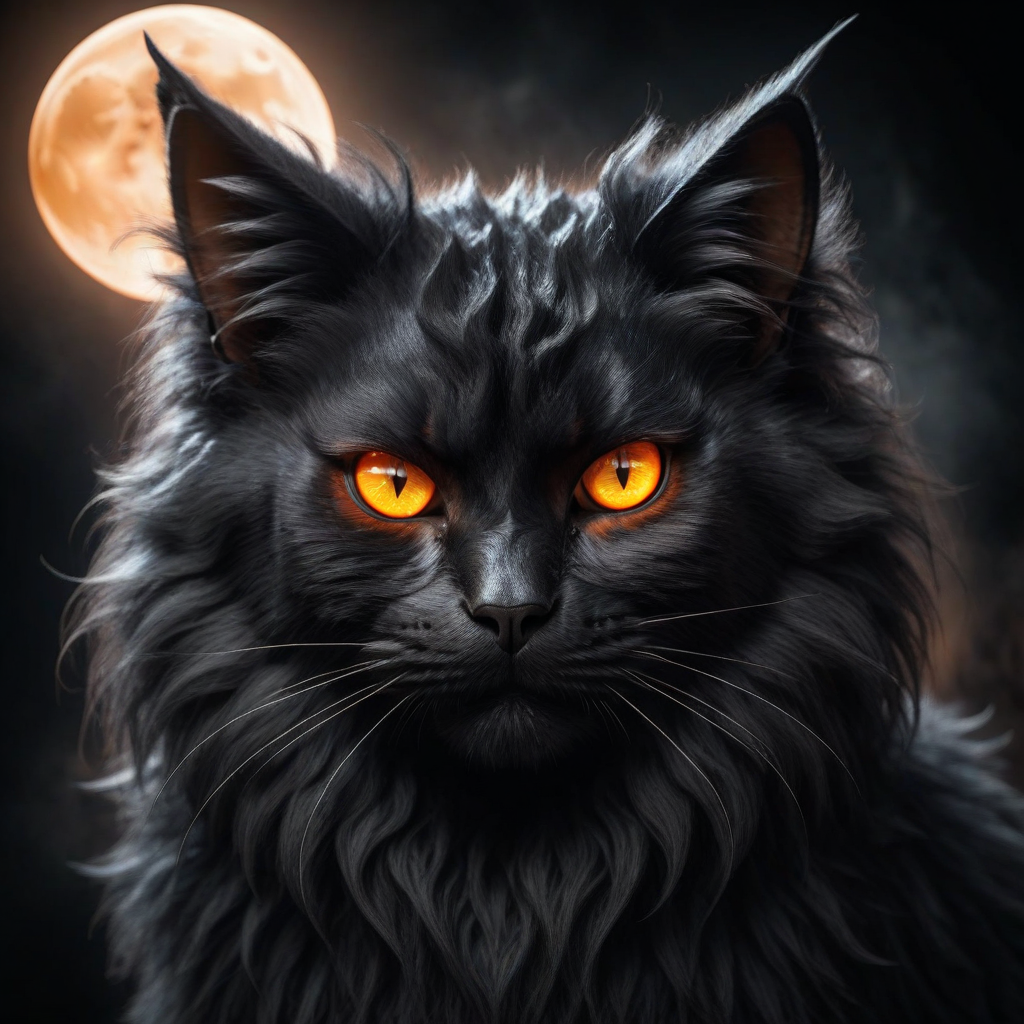
Stable Diffusion
Stable Diffusion is an advanced type of generative AI model that specializes in creating detailed images from textual descriptions. It’s part of the broader category of models known as diffusion models.
The process begins with a pattern of random noise – essentially a meaningless, static-like image. The model then performs a series of steps (or iterations) to refine this noise into an image. In each step, it alters the pattern slightly, guided by its training to make these changes in a way that gradually forms a coherent image. Like other deep learning models, Stable Diffusion is trained on a large dataset of images and their corresponding descriptions. It learns how certain textual descriptions correlate with visual patterns.
The ‘diffusion’ in its name refers to the way it mimics the diffusion process in physics but in reverse. In nature, diffusion describes processes like ink dispersing in water, going from ordered to disordered. The model reverses this, going from disordered (random noise) to ordered (a structured image). During image generation, the model is ‘conditioned’ with text. This means it uses the text prompt to guide the transformation from noise to image, aiming to match the description.
Architecture
The architecture of Stable Diffusion, a type of latent diffusion model (LDM) developed by the CompVis group at LMU Munich, is an innovative approach in the field of AI-generated imagery. It’s built on a foundation that integrates three key components: a Variational Autoencoder (VAE), a U-Net, and an optional text encoder, often utilizing CLIP (Contrastive Language-Image Pretraining). Here’s a breakdown of each component:
Variational Autoencoder (VAE)
- Function: The VAE in Stable Diffusion serves to compress the image from its original pixel space into a smaller, more manageable latent space. This latent space captures the essential semantic meaning of the image.
- Role in the Process: It’s crucial in the initial and final stages of the image generation process. Initially, it compresses the image, and in the final stage, it decompresses the latent representation back into pixel space to produce the final image.
U-Net with ResNet Backbone
- Purpose: The U-Net is the core component responsible for the denoising process. It takes the noised latent representation and works to reverse the noise application, effectively ‘cleaning up’ the image.
- Design and Efficiency: Composed of a ResNet backbone, the U-Net in Stable Diffusion is notably efficient. Its structure allows it to handle the forward and backward diffusion processes effectively, making it a pivotal element in the generation of high-quality images.
CLIP for Text Encoding
- Conditional Generation: Stable Diffusion can be conditioned on various inputs, including text. When text is used, the model employs a fixed, pretrained CLIP ViT text encoder.
- Function of CLIP: This encoder transforms textual prompts into an embedding space, allowing the model to understand and interpret the text input. The resulting embeddings are then used to guide the denoising process in the U-Net, ensuring that the generated image aligns with the textual description.
Hands On
With some theoretical understanding let’s try to generate some images and then deep dive into the math of things later!
Pre-requisites for Experimentation:
-
High-Performance Computing Hardware: Utilize a machine equipped with a GPU for optimal speed (though CPU-only is possible but slower). Specs - i9 CPU, 16GB of RAM with swap memory RTX 3060 12GB VRAM, Ubuntu OS (Windows 11 also works)
-
User-Friendly Interface for Model Interaction: Instead of diving into code, we’ll use ComfyUI. This interface simplifies the process, allowing for rapid, code-free experimentation with AI models.
-
Accessing Stable Diffusion Models: Start with open-source models available on platforms like Hugging Face. We’ll focus on Stable Diffusion XL models, which are the latest and the fastest models till now.
Installing ComfyUI
Locating Installation Instructions: Find specific OS instructions here.
This guide focuses on Linux :
- Repository Cloning: Clone the ComfyUI repository:
git clone https://github.com/comfyanonymous/ComfyUI.git - Miniconda Installation: Install Miniconda to manage dependencies. Instructions are available here. Download and execute the installer script.
- Setting up Python Environment:
Create a Conda environment for Python 3.11 and activate the environment:
conda create -n py311 python=3.11 conda activate py311 - Installing PyTorch: Install PyTorch within the environment:
pip install torch torchvision torchaudio --extra-index-url https://download.pytorch.org/whl/cu121 - Installing Additional Dependencies:
Navigate to the ComfyUI directory and install required packages:
  cd ./ComfyUI
  pip install -r requirements.txt
Running ComfyUI
After this you should have everything installed and can proceed to running ComfyUI.
python main.py
Welcome to the trippy world of Diffusion (http://127.0.0.1:8188/)
Downloading Model
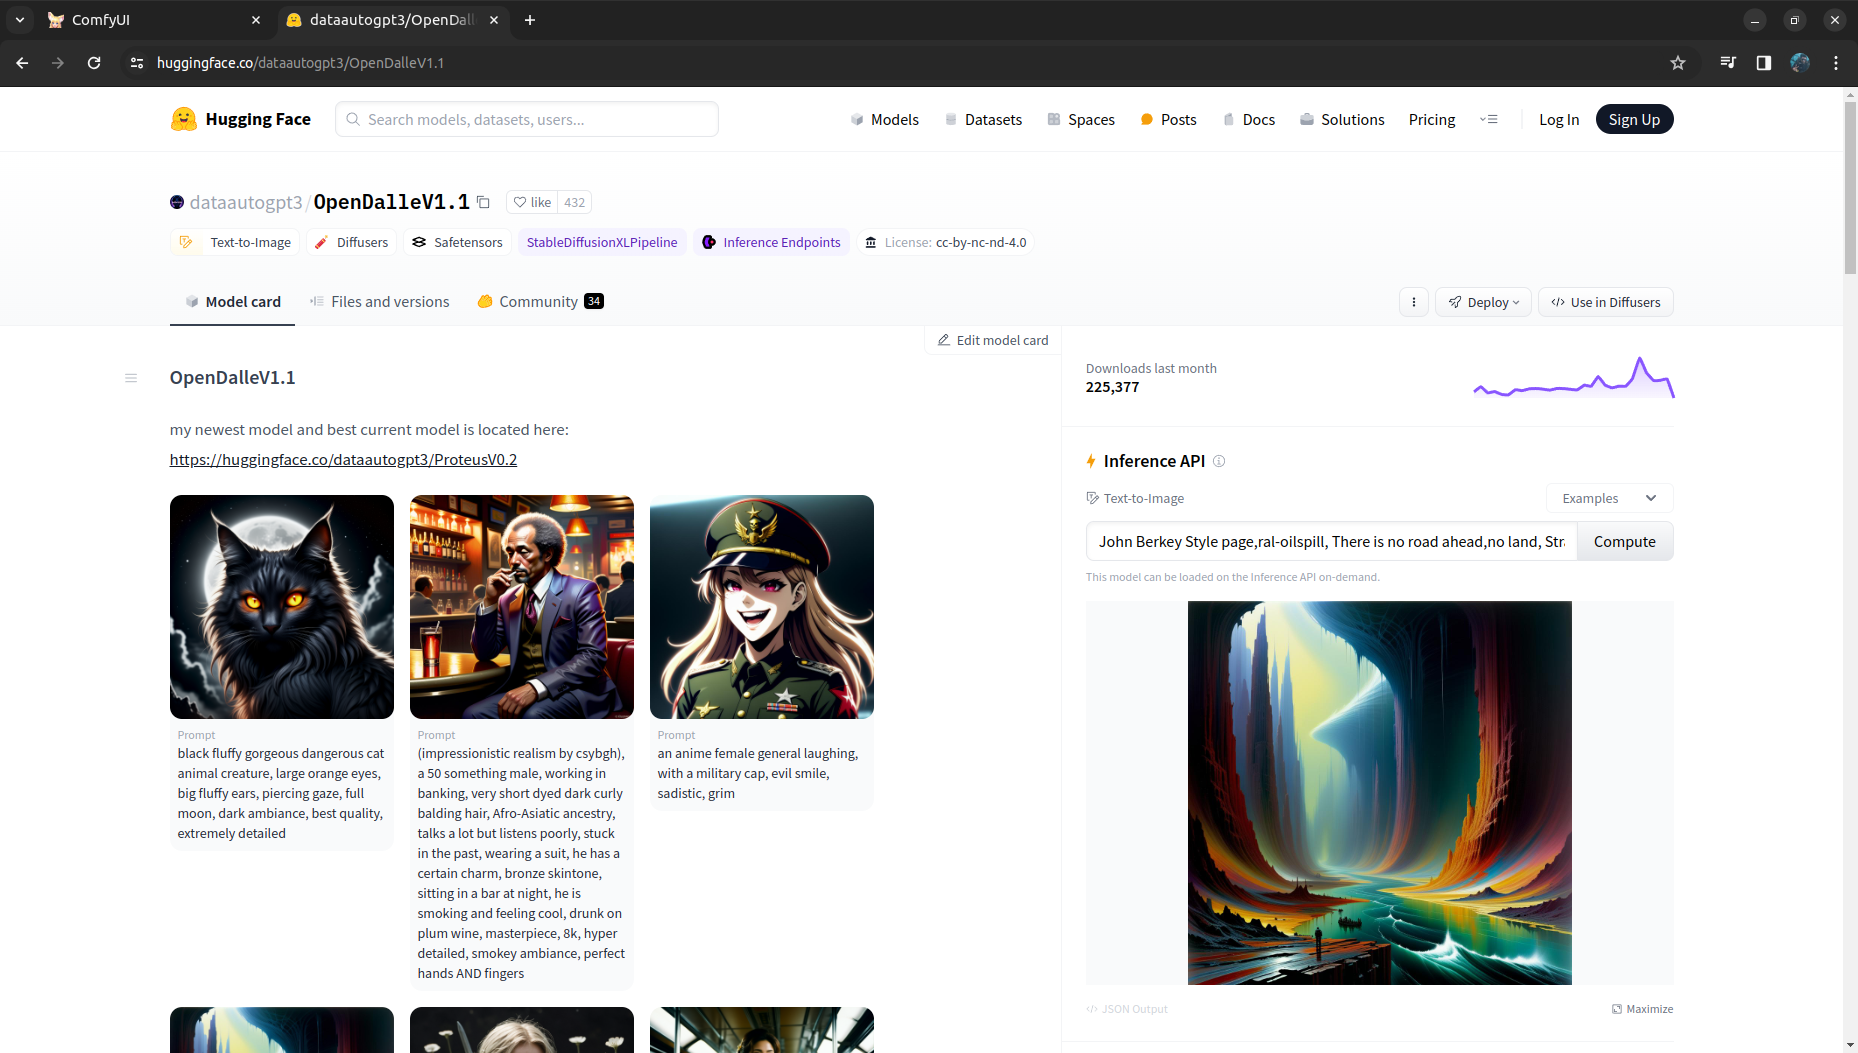
Download model OpenDalleV1.1 from huggingface. We need to download the 6.94 GB OpenDalleV1.1.safetensors file only for inference. Place the model in ComfyUI/models/checkpoints/ directory, click Refresh in ComfyUI and the model should apear in the Load Checkpoint node’s dropdown list.
Running the pipline
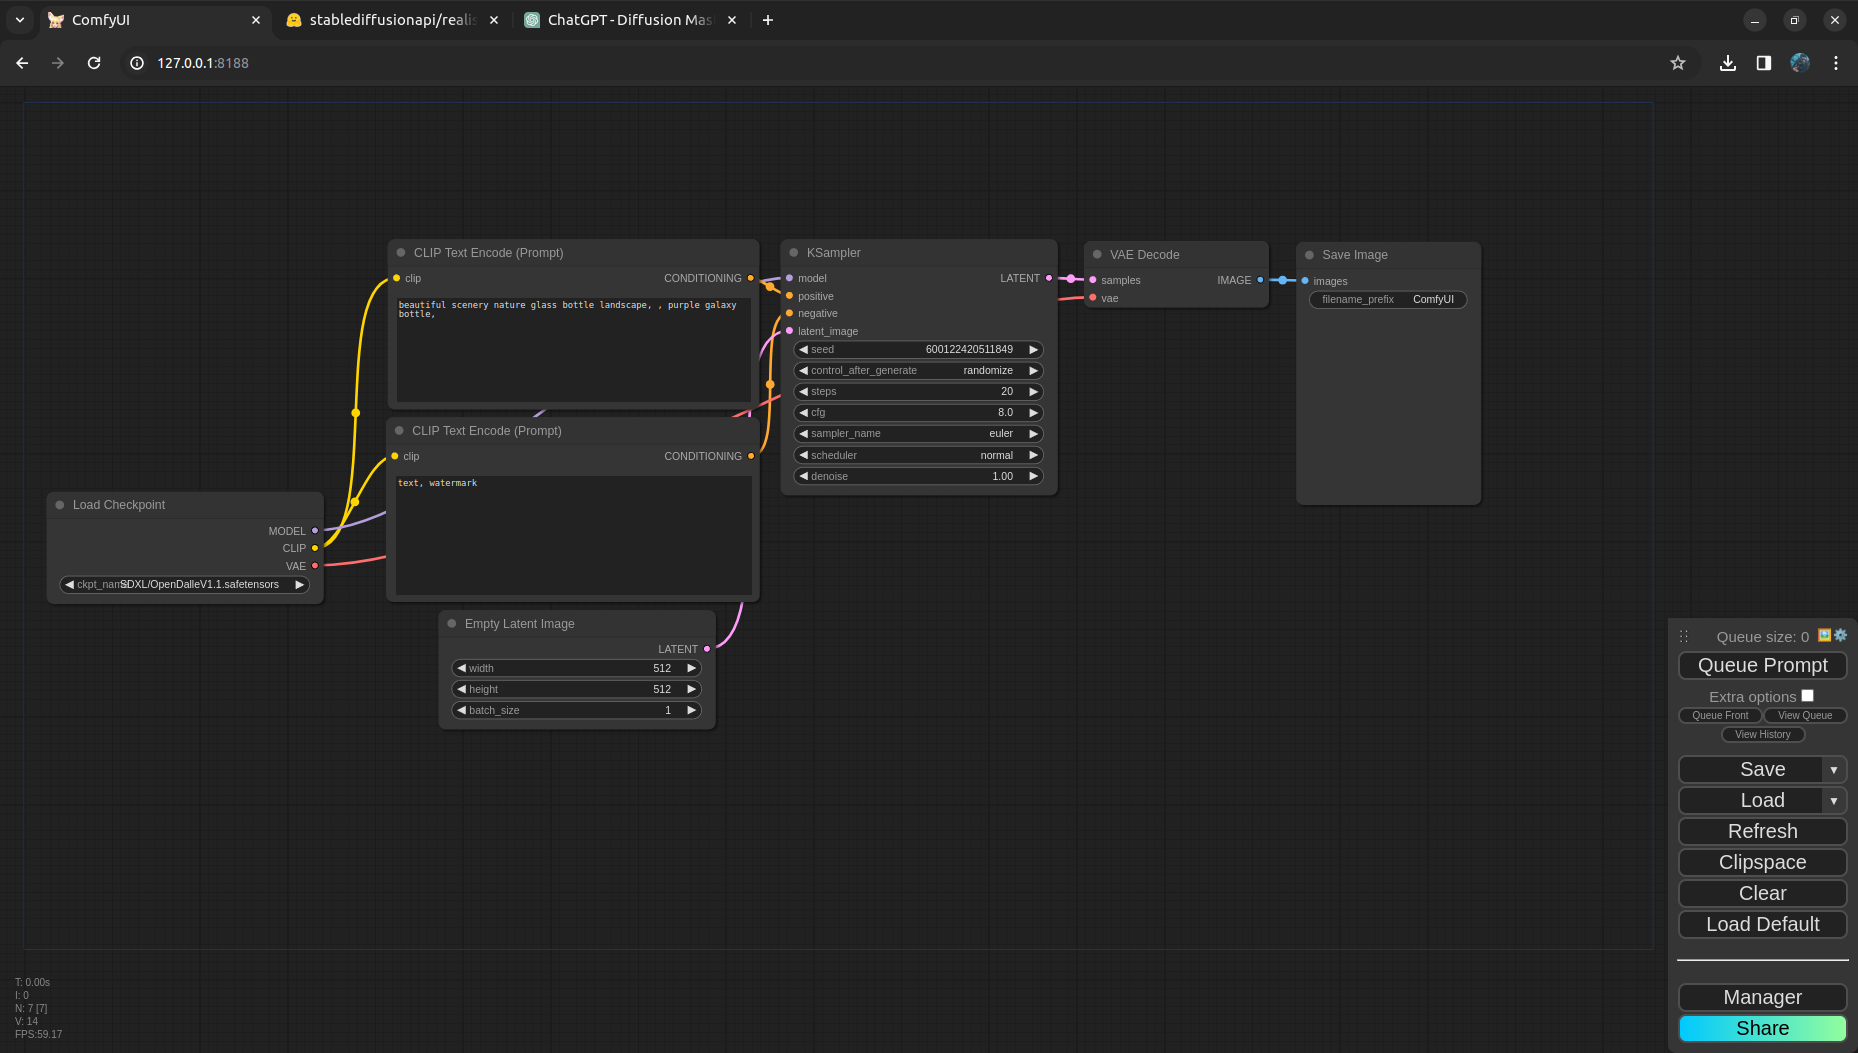
Click on Queue Prompt button in ComfyUI and this should generate the first image for you!

But what exactly is happening here?
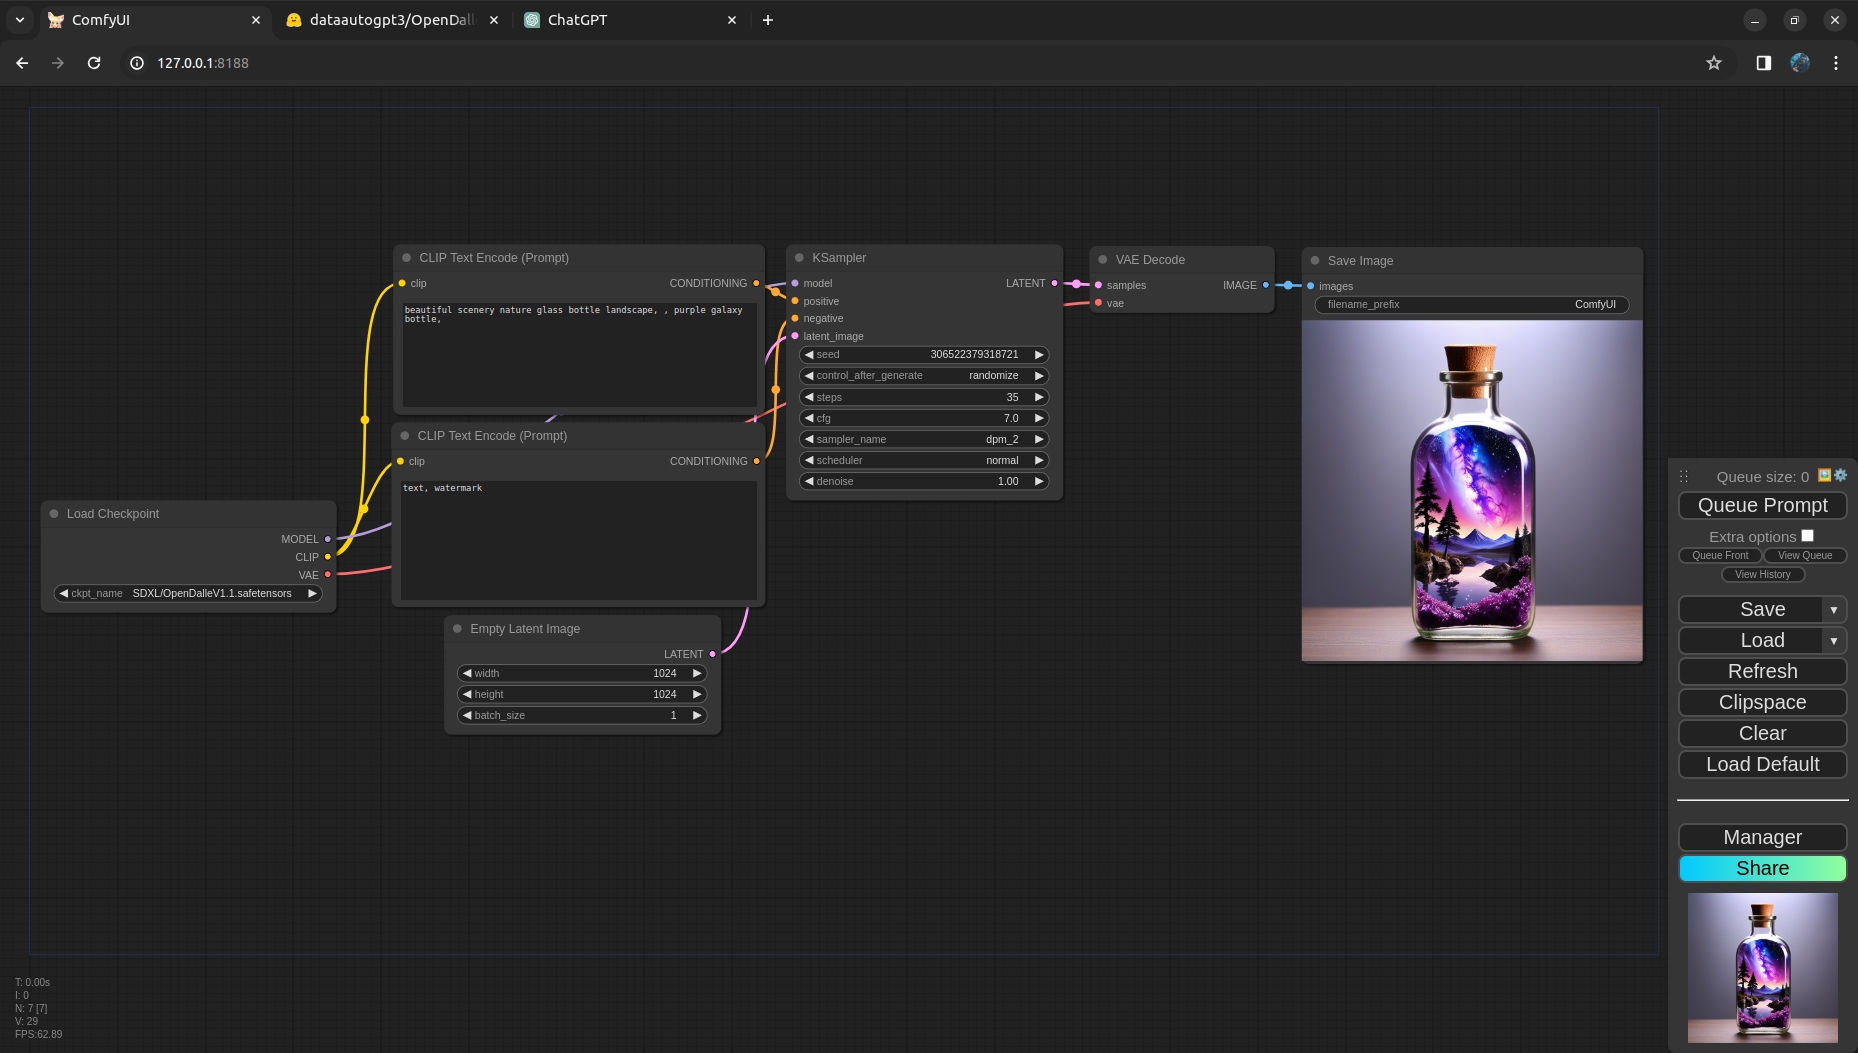
Let’s go node by node here and try to understand the pipeline in detail.
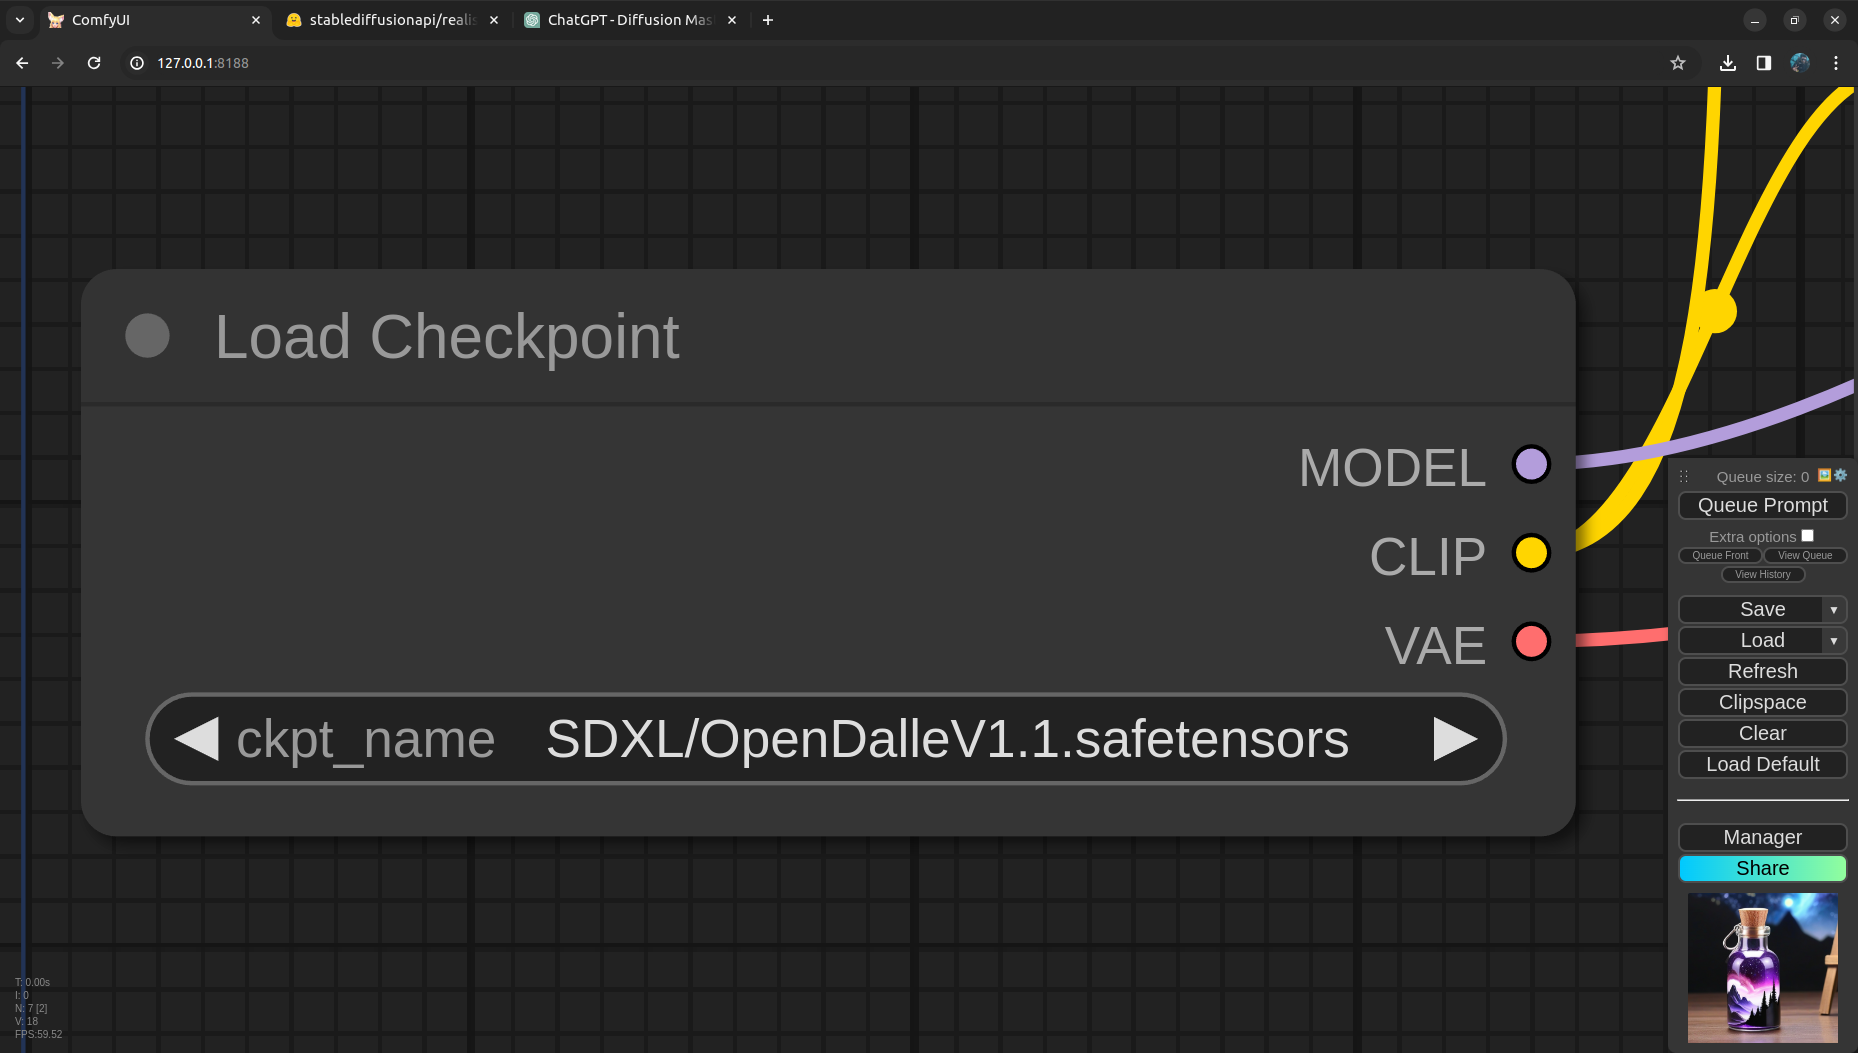
The very first node in the pipeline is Load Checkpoint, it loads the Model, CLIP and VAE and make it available for the CLIP text encoder, Sampler and the VAE Decoder.
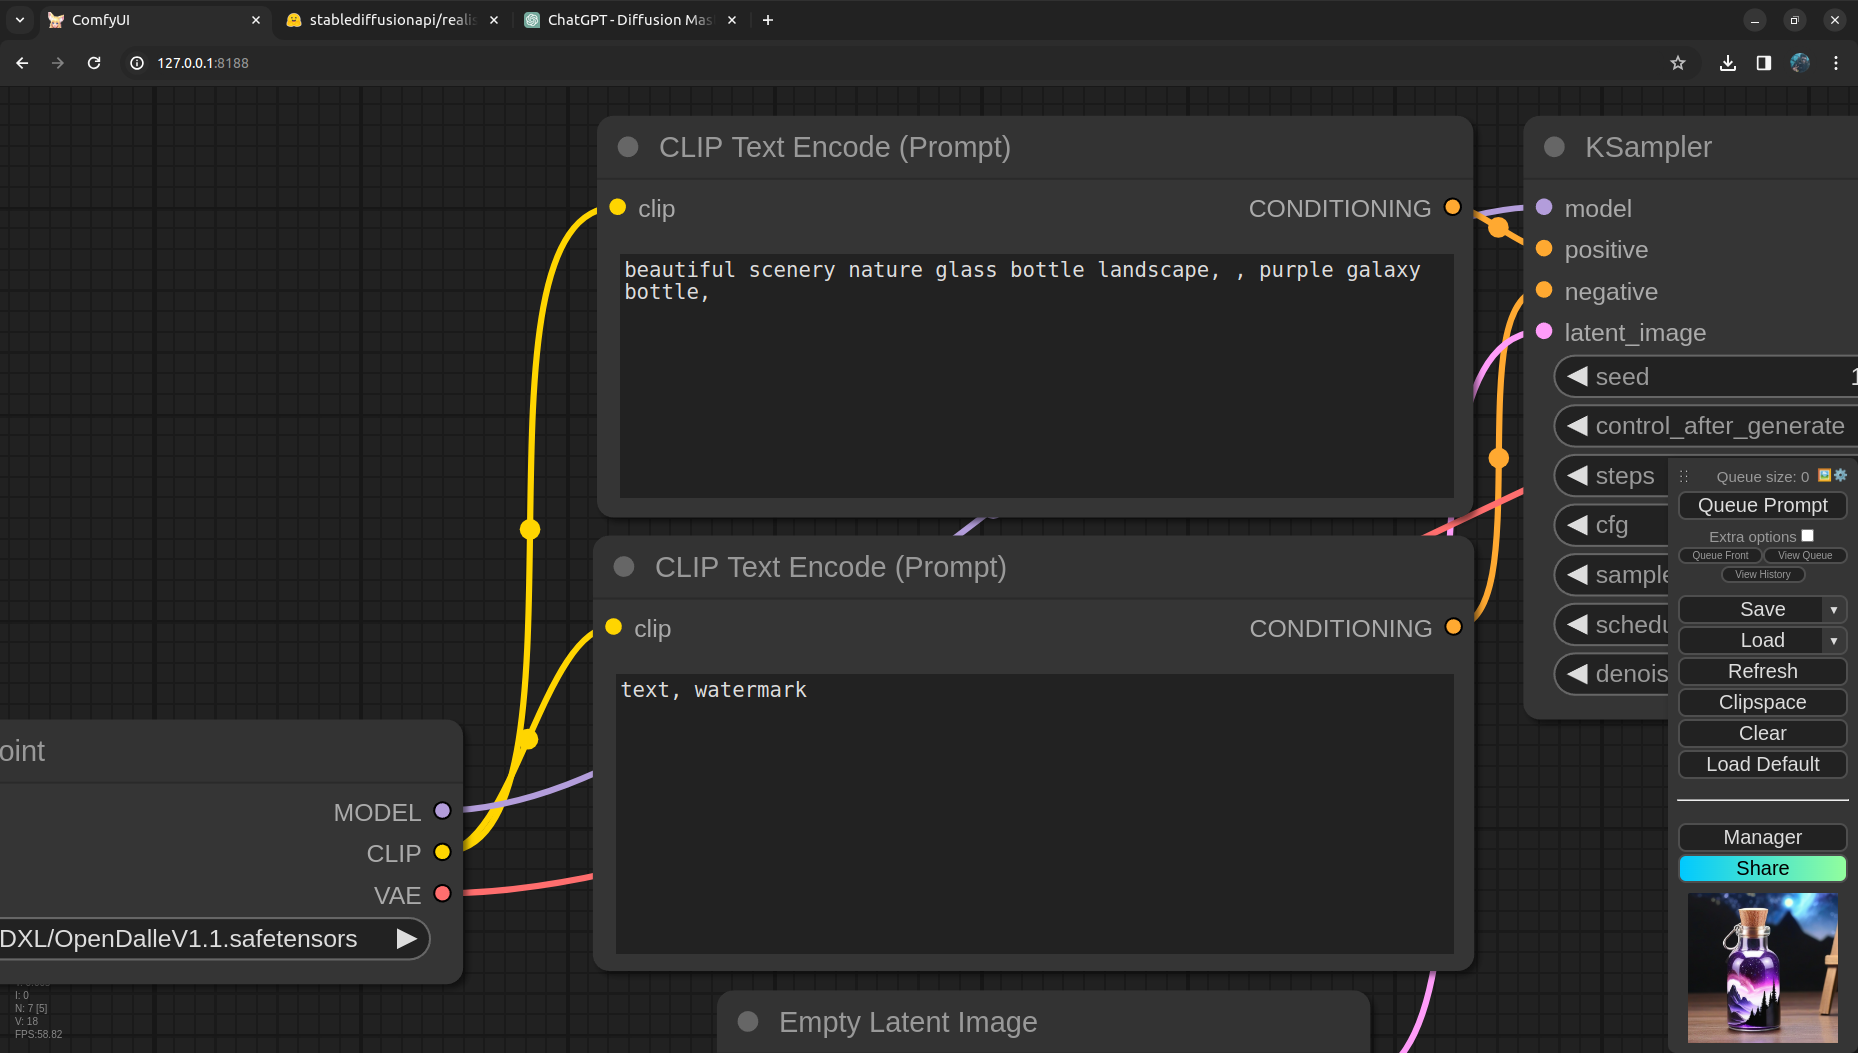
Next we have CLIP text encoder nodes, with the given CLIP the text is encoded and passed as conditioning to the Sampler. Notice, there are two CLIP encoders here, one is for the positive prompt and the other one is for the negative prompt.
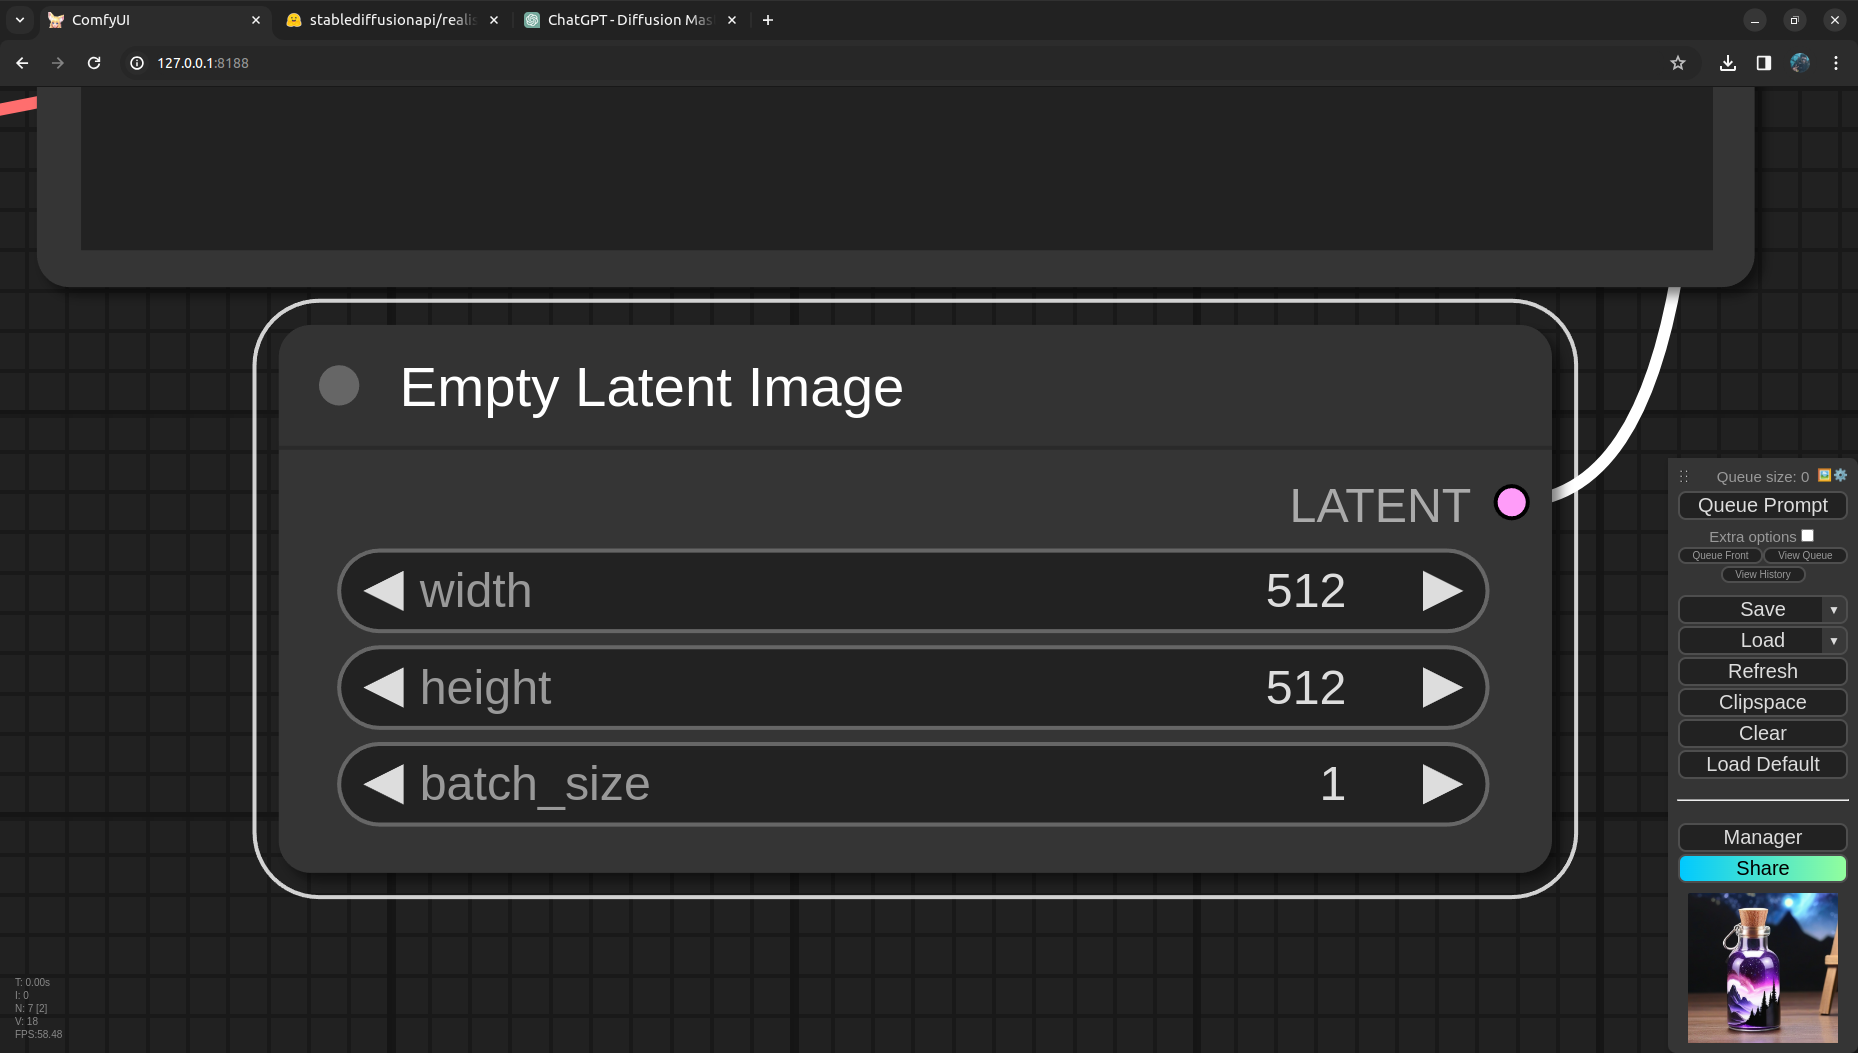
In parallel we are passing an empty latent image as well to the sampler, which will be decoded later into pixels after sampling. Ideally for SDXL models the latent image should have 1024x1024 resolution because the model is trained on 1024x1024 resolution and we will get better results if we do inference with the same resolution. In the next run we will update these values! Also the batch size is the number of images that we want to generate for the run. For each image in a batch the Sampler will have a different seed so that we can have multiple variations of the image with the same prompt.
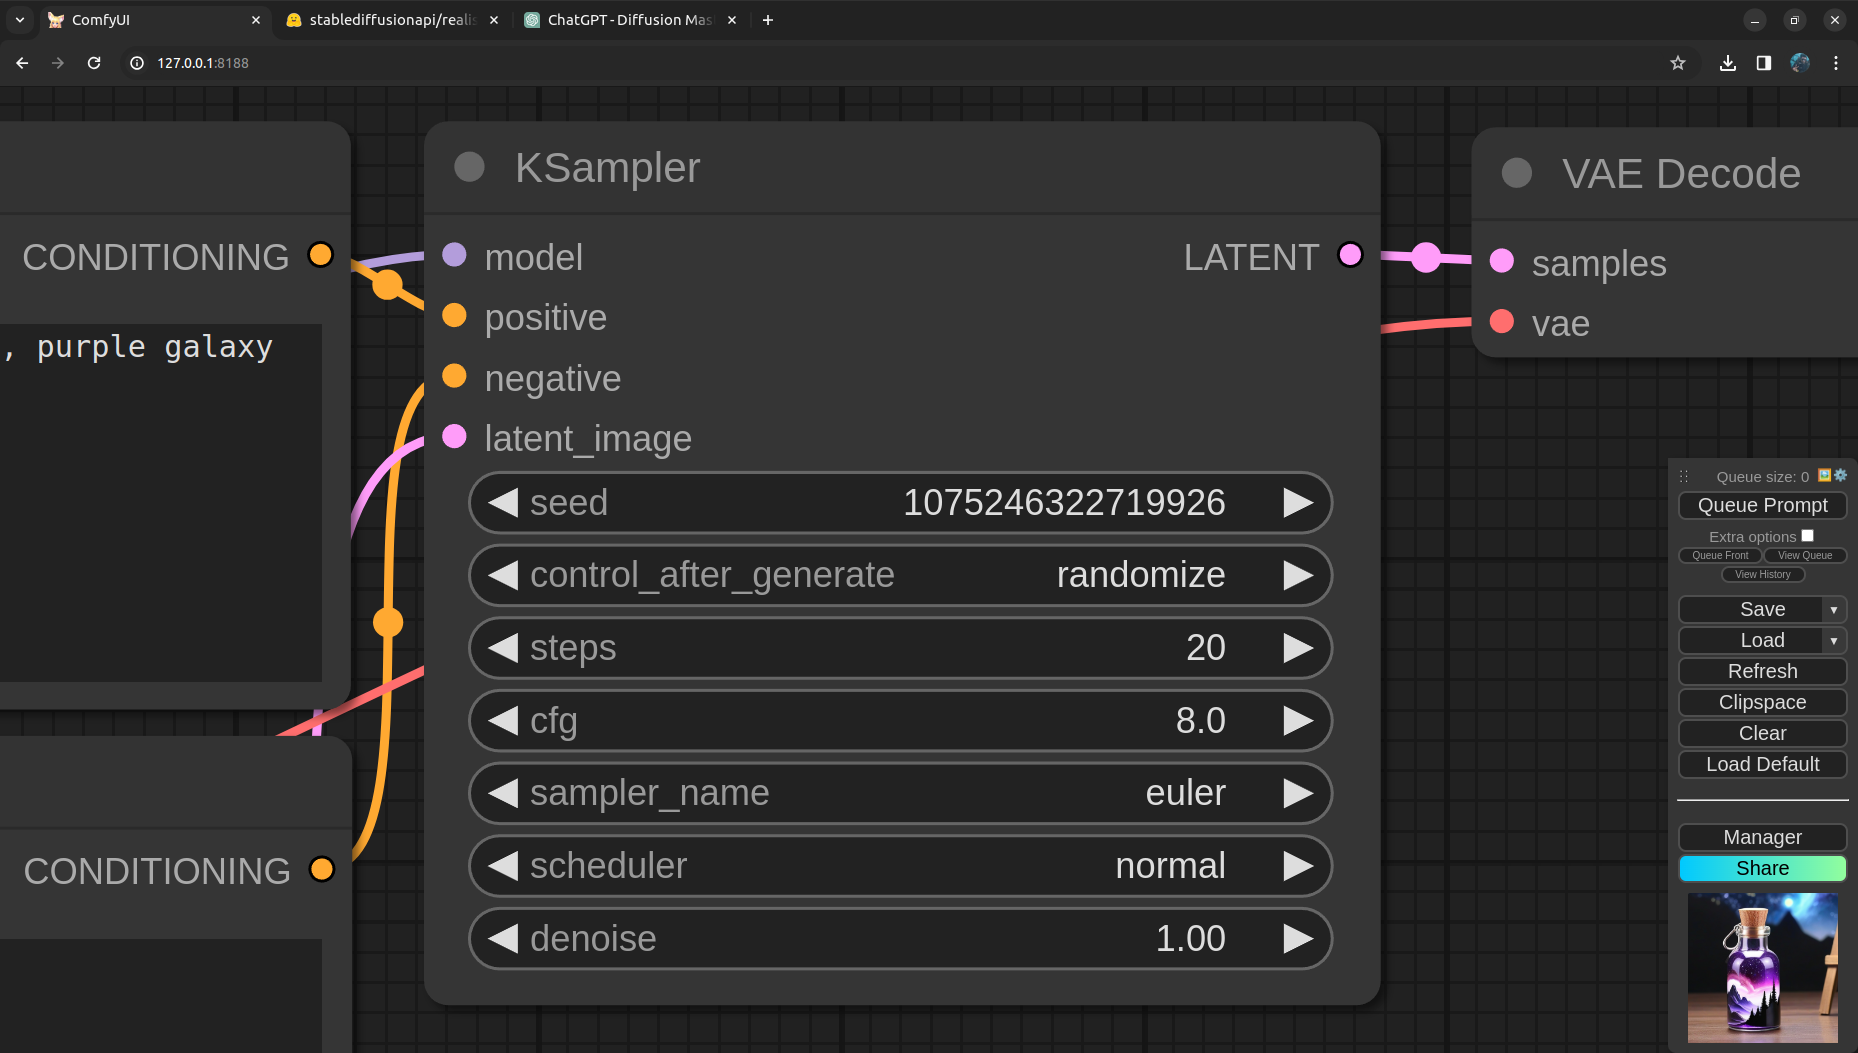
Next is the KSampler, the place where the magic happens! We link the model, positive and negative CLIP encoded prompts and the latent image to the Sampler input. Here the Sampler got quite a few parameters to play with. We will go in detail about these parameters in a later posts. Right now we leave them to default. Oh wait, we can do better! From the model card we can see the model publisher has given the best settings for sampler. CFG Scale: 8 to 7, Steps: 60 to 70 steps for more detail, 35 steps for faster results, Sampler: DPM2 and Scheduler: Normal or Karras. Lets update these settings in the next run as well.
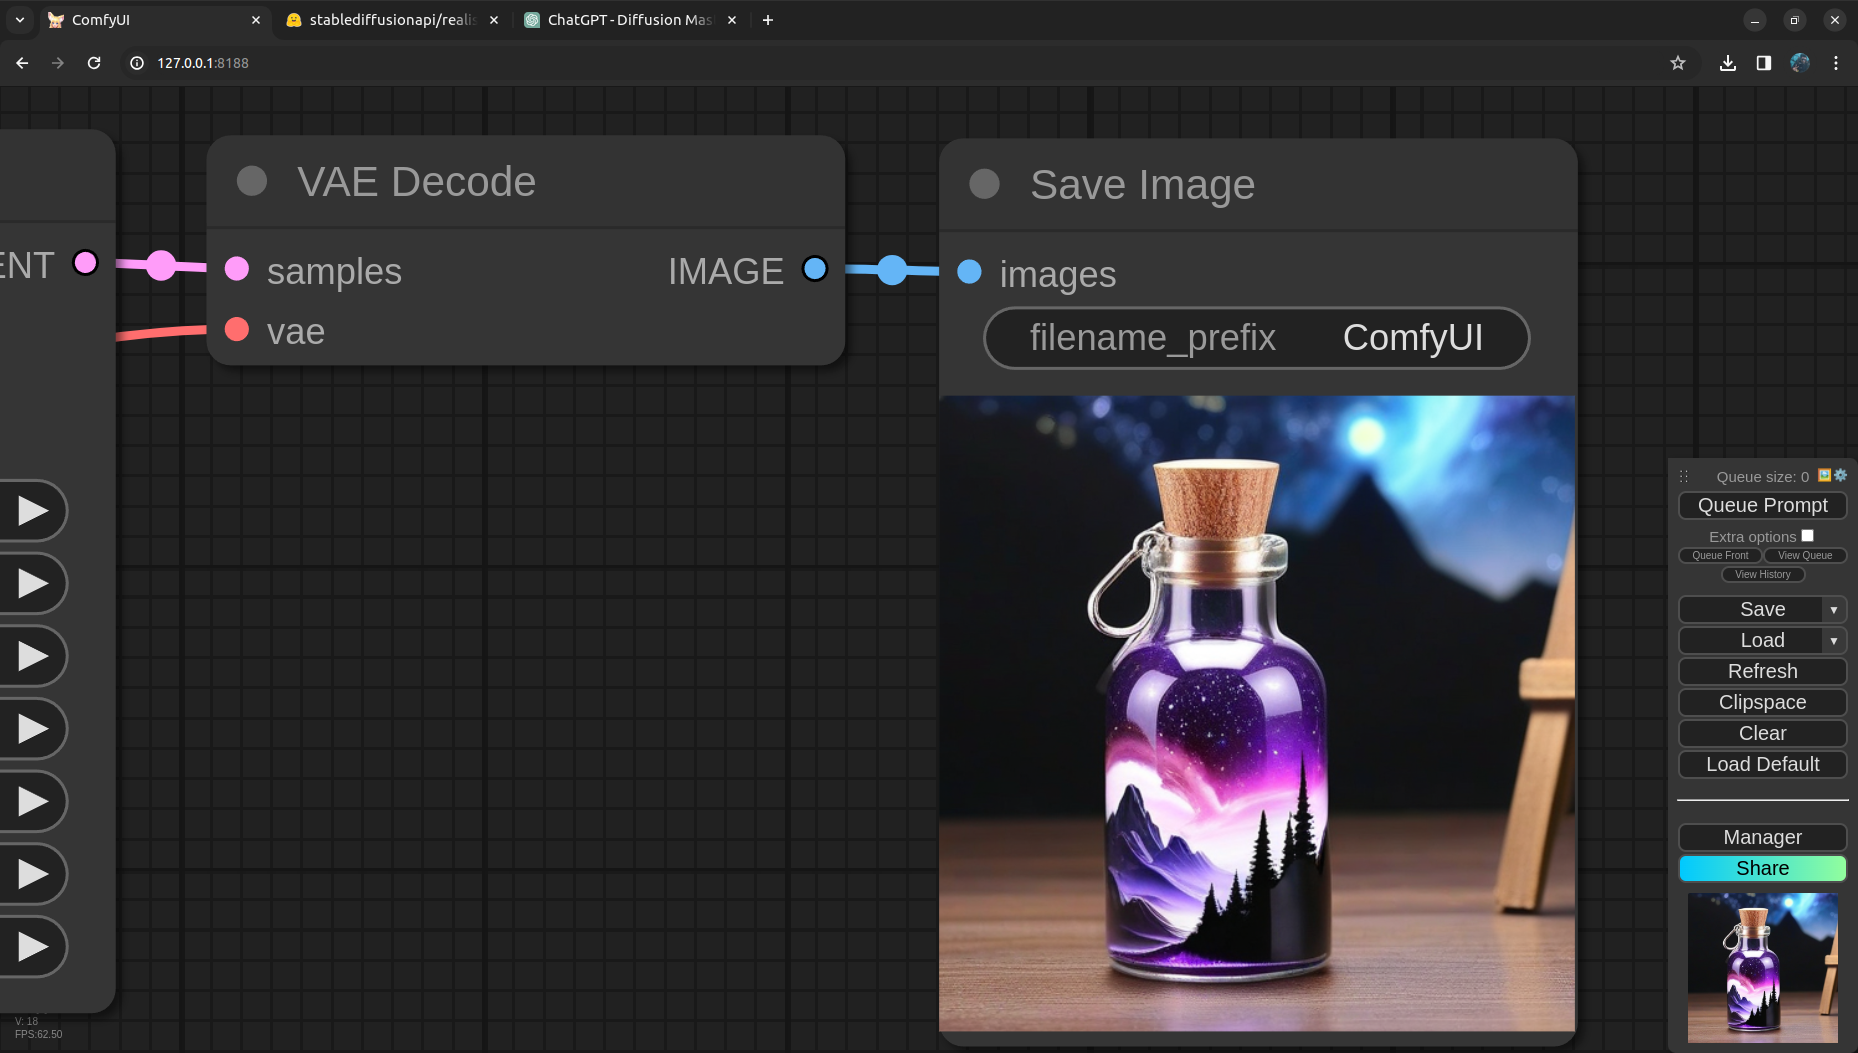
Last but not the least, we got VAE Decode to convert image from latent to pixels and finlay save the image using Save Image node.
Putting everything together
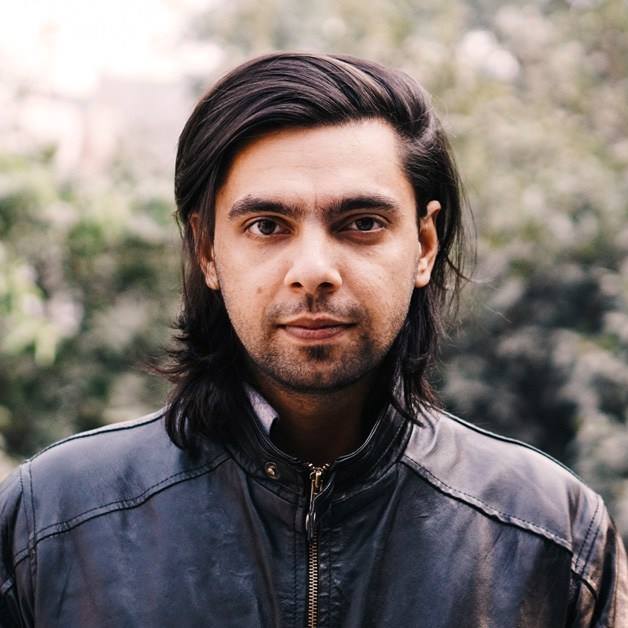
Understanding and setting up every param we can, lets generate some images with the new settings and prompts!
Results
This already looks so much better! Now lets try some exciting prompts to make it more spicy!!
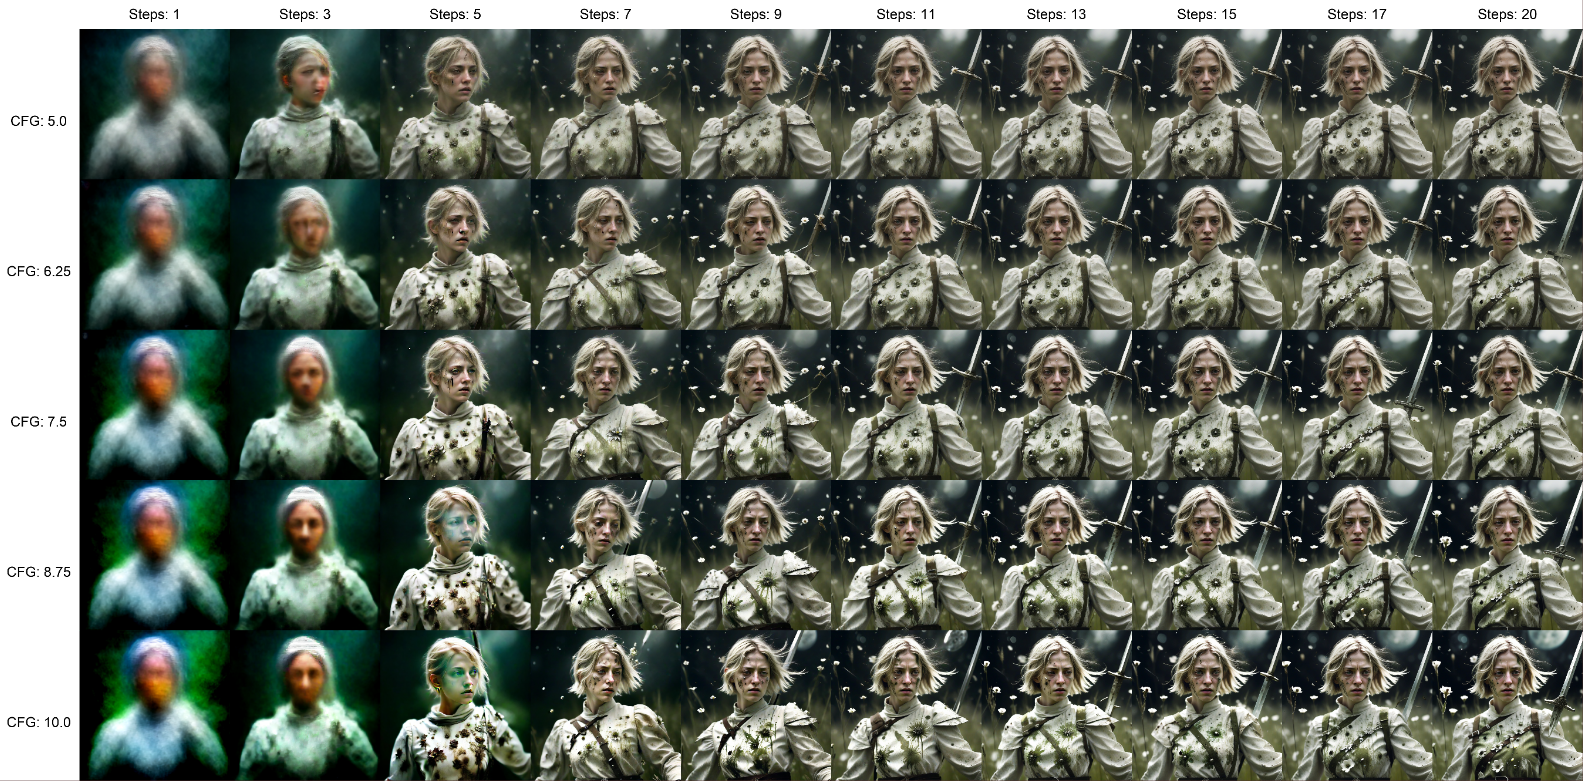
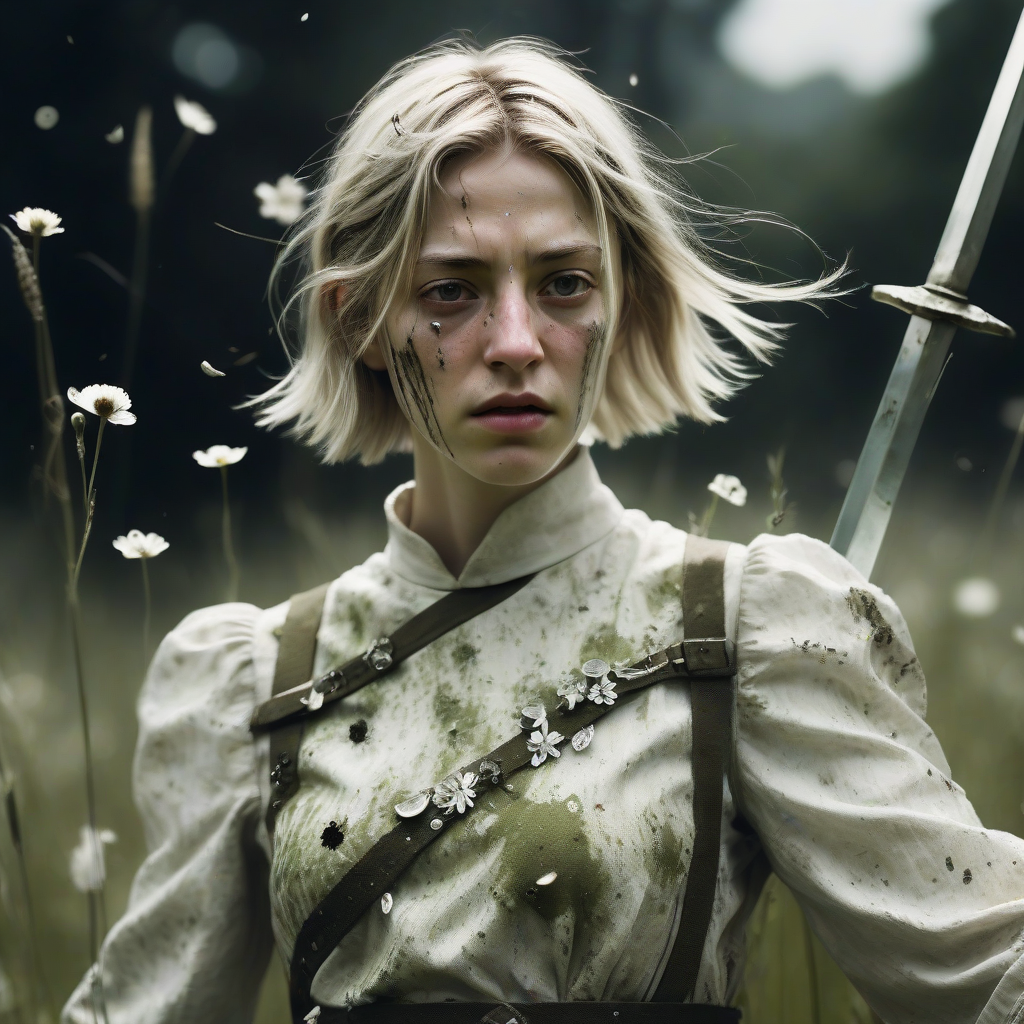 Super Closeup Portrait, action shot, Profoundly dark whitish meadow, glass flowers, Stains, space grunge style, Jeanne d’Arc wearing White Olive green used styled Cotton frock, Wielding thin silver sword, Sci-fi vibe, dirty, noisy, Vintage monk style, very detailed, hd
black fluffy gorgeous dangerous cat animal creature, large orange eyes, big fluffy ears, piercing gaze, full moon, dark ambiance, best quality, extremely detailed
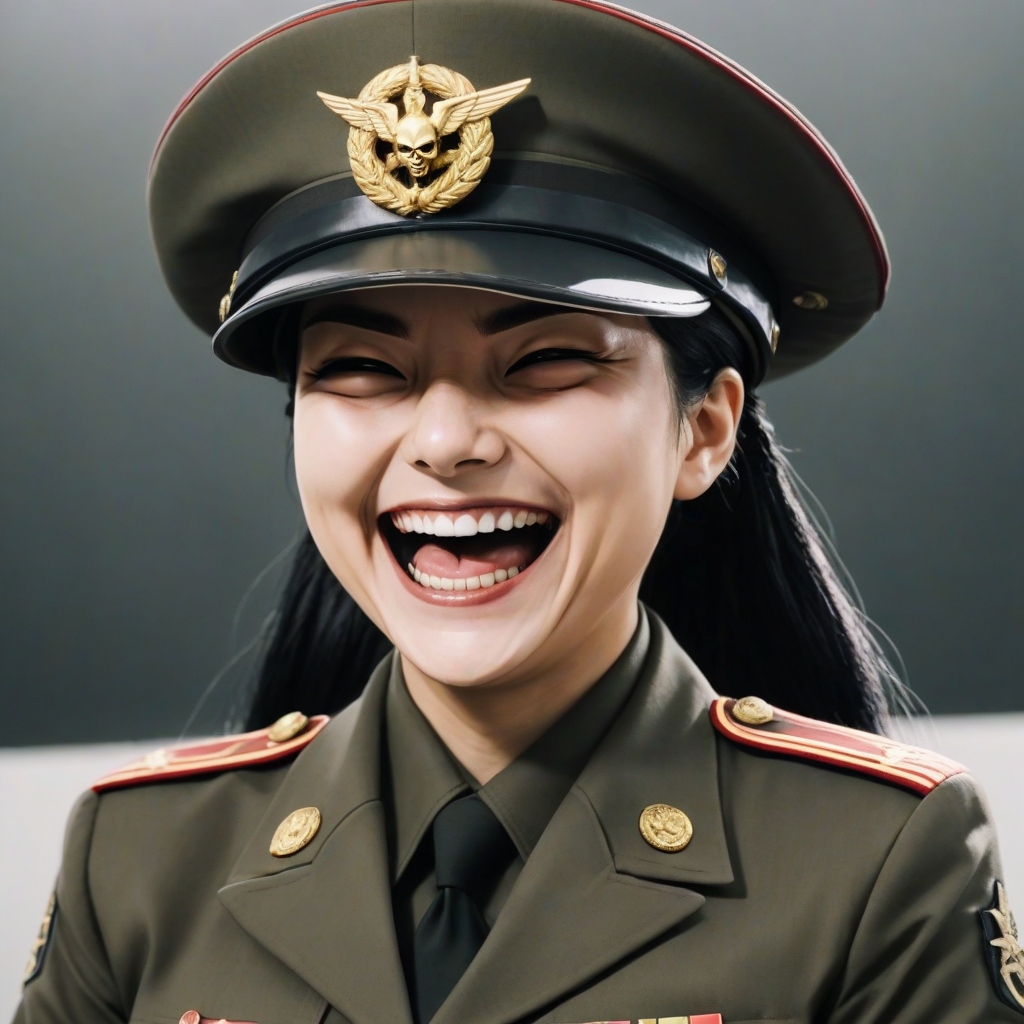 an anime female general laughing, with a military cap, evil smile, sadistic, grim
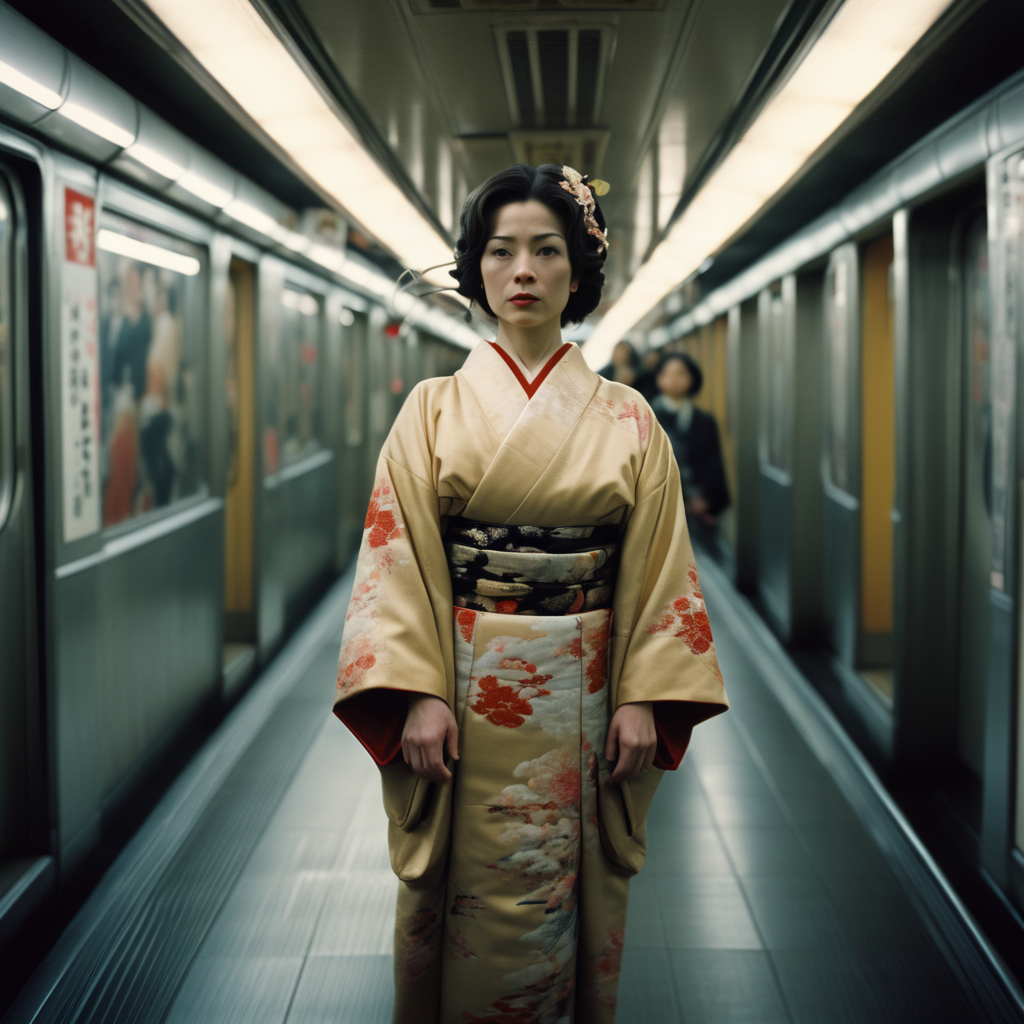 cinematic film still of Kodak Motion Picture Film: (Sharp Detailed Image) An Oscar winning movie for Best Cinematography a woman in a kimono standing on a subway train in Japan Kodak Motion Picture Film Style, shallow depth of field, vignette, highly detailed, high budget, bokeh, cinemascope, moody, epic, gorgeous, film grain, grainy
Next steps
- Control the generation of images (ControlNet, OpenPose, Depth, LineArt)
- Enhance features like face, hands and background. Upscale images.
- Animations!!